|
|
|
INSTRUCTIONS FOR REMOVAL OF
PROTECTIVE FILM ON PANELS
|
| |
MANY OF OUR PANELS ARE SHIPPED WITH A PROTECTIVE FILM TO ENSURE THEIR QUALITY THROUGH THE FABRICATION, SHIPPING AND JOBSITE HANDLING PROCESSES. |
| |
 |
|
 |
|
| |
Step 1:
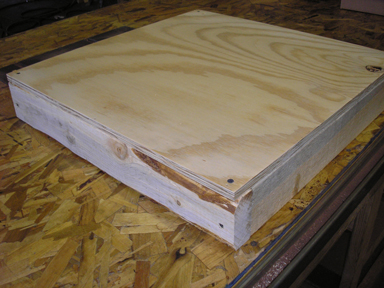
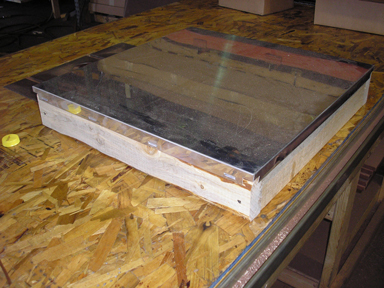
For best results, use a jig that will support the face of the product. |
|
|
Step 2:
Set the product on the jig being careful to support the area on which you are working. |
|
|
| |
 |
|
 |
|
| |
Step 3:
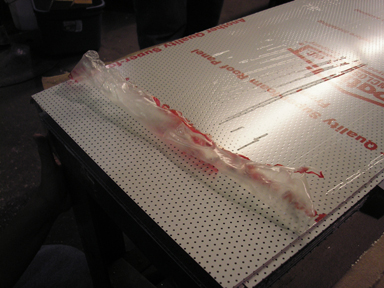
Gently peel back the film 8" to 12" from one of the short ends of the panel. |
|
|
Step 4:
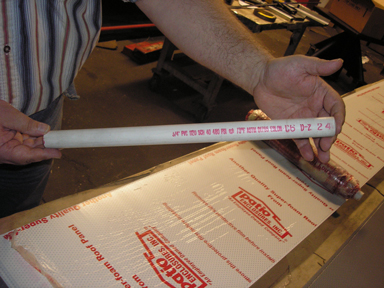
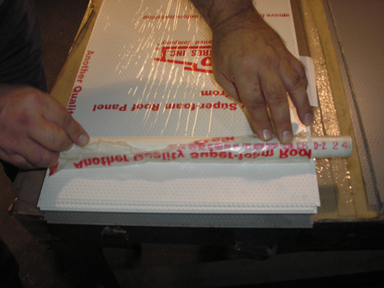
Select an appropriate length of tubing (similar to 3/4" PVC or electrical conduit. |
|
|
| |
 |
|
 |
|
| |
Step 5:
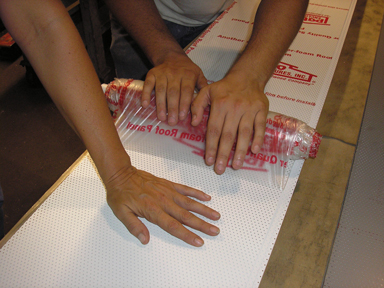
Wrap the peeled back end of the film around the tube until it adheres to itself. |
|
|
Step 6:
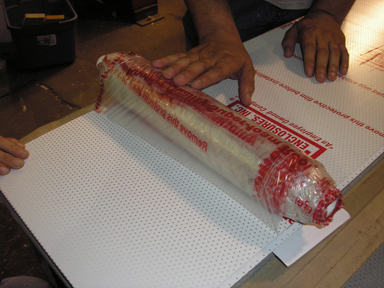
Using a "rolling pin" motion, roll the film onto the tube while holding down the already stripped surface with gentle pressure. |
|
|
| |
 |
|
NOTE:
BE CAREFUL NOT TO JERK OR YANK THE FILM ABRUPTLY. THIS COULD CAUSE THE PANEL TO BEND OR KINK. |
|
|
| |
Step 7:
You may continue to use the same tube until the size is no longer easily managed. |
|
|
|
|
| |
| WE SUGGEST THE USE OF PROTECTIVE GLOVES WHILE STRIPPING THE FILM AND DURING PANEL INSTALLATION TO ELIMINATE THE POSSIBLILITY OF GETTING FINGERPRINTS OR DIRT/ GREASE ON THE PANELS. |
|
|
| |
© 2013 American Decorative Ceilings |
|
